Showing posts with label LeeH. Show all posts

Sunday, March 3, 2019

'Fellowship' from LeeH: Encounter at Weathertop

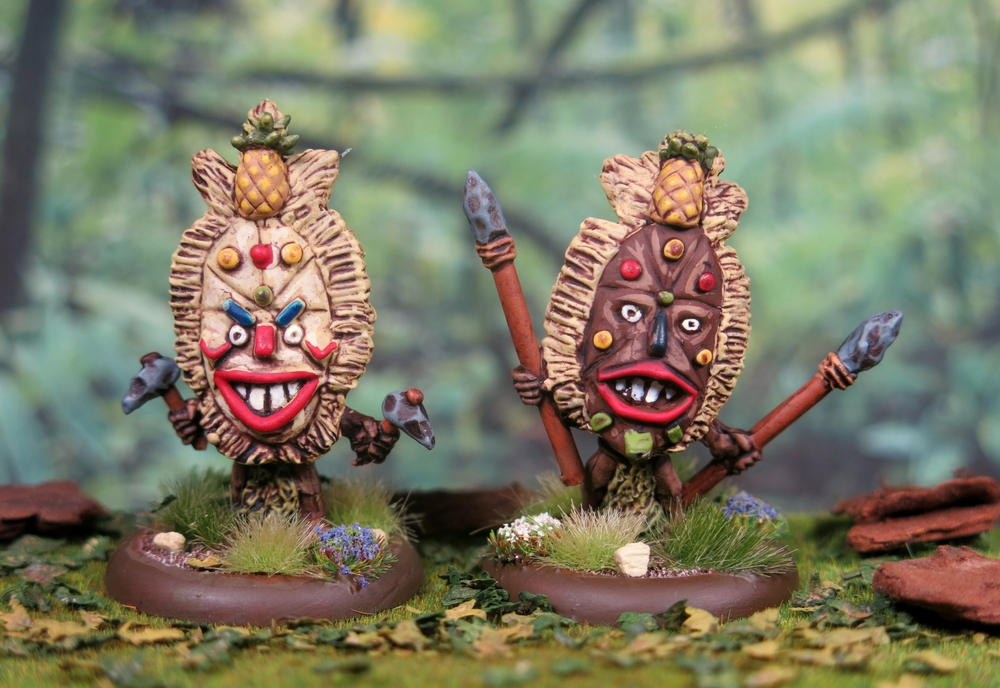
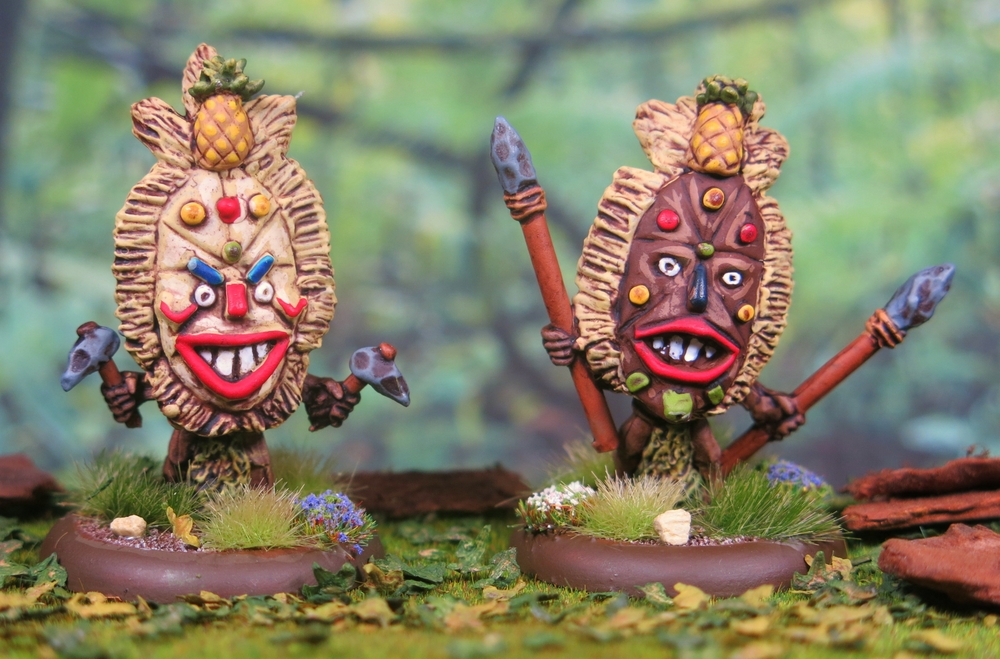
I had already decided I wanted to end the Bonus rounds with a Lord of the Rings themed entry when I saw that the final theme would be 'Fellowship'. I gave the idea some thought and one scene from the films stood out - the battle at Weathertop. I had some old bits of GW scenery that could be cleaned and recycled and I was sure I had some unpainted Nazgul somewhere in my lead mountain. Sure enough, I found the components for a little diorama featuring a Sam and Frodo figure combo that I found on eBay.


The Nazgul were simple enough to paint, although I did add a little 'dirt' around the bottom of their cloaks so they are not just plain black. For Frodo and Sam I found a reference picture from the films to get the colours approximately right. I used army painter wash rather than my normal ink on these and I think that worked well considering their small size and fine detail. When I discovered the statue it was already painted, but so battered and chipped that I decided to strip it and repaint it from scratch so that I could use it in this model.


The Nazgul are approximately 28mm, the hobbits are the same scale but stand about 22mm tall and the statue towers over the lot, coming in at about 55mm (it's not technically a figure so I'm not expecting points for that). I had wanted to add more terrain but time was pressing and in the end, I'm glad I went with the simpler layout.


I'm quite chuffed with this little diorama, especially considering it was thrown together from bits out of my lead mountain. Now it's time to get my head down for the push to the finishing line.


Sunday, February 17, 2019

'Water Feature' from LeeH: Sherman DD Tank

For the Water Feature bonus round, I have gone for a Sherman DD (Duplex Drive) wading ashore on a Normandy beach.  In the end, more work went into the base than the tank but I'm really pleased with the end result. 


The DD's were a British invention (only us Brits are mad enough to attempt to make a tank float!) and were part of a series of specially adapted vehicles collectively known as Hobart's Funnies. The concept of the swimming tank actually dates back to 1918 when the first designs were being considered. Development continued in the inter-war period with initial designs using huge detachable floatation tanks. However, this made the tank very unwieldy and far too wide for any landing craft to carry them. The concept of the floatation screen - increasing the displacement of the tank until it floated -  was first considered in 1940 and was initially tested on the Tetrarch Light Tank and later on Valentines. By 1943 the first tests with Shermans were taking place. 


The Vehicle gets its unique name not from the floatation screen but from the drive system that allowed propellers to be fitted to the tank, thereby allowing it to 'drive' through the water like a motorboat. The Sherman could drop its screen very quickly once on land and be ready to fight immediately (importantly, with the first waves of infantry) and must have been a real shock to the German defenders on D-Day. 


I employed a product I have not used before, Vallejo Textured Water Effects. In the pot, it looks like PVA glue, although it's consistency is more like jelly and can be applied with a brush or a spatula. However, when it dries it is perfectly clear, making it ideal for modelling drips of water, ripples and even waves. A tiny dab of colour paint can make the 'water' turn opaque, such as on the crests of the waves and the frothy edge of the water on the beach. I also used the textured water to add drips and rivulets of water running off the tank that has just emerged from the sea. For the larger drips, I cut and attached tiny strips of clear plastic to the model then applied the water effect over the top. Using this product requires a lot of patience as the effects are best built up in thin layers.


Incidentally, the seaweed along the shoreline and tangled on the beach obstacle is made from little bits of cotton thread that I dyed the correct colour (the wife had every colour in her sewing box, except green!). Cut into little sections and frayed up a little I think it looks pretty good as seaweed. I had wanted to add some casualties and weapons to the beach but in the end, I decided that was a little too dark. Besides I couldn't find anything suitable so a few items of discarded stowage finished off the scene. 

Sunday, February 3, 2019

'Mercenary' from LeeH: Da Vinci's Fighting Vehicle

Renaissance Italy was a patchwork of warring city-states, each constantly looking for an advantage over the other. Rich in coin but poor in manpower the states employed large mercenary contingents into their armies. Not, you would have thought, ideal territory for a jobbing artist and inventor such as Leonardo. However, when he was looking for a new patron, instead of offering his sword arm in return for payment, he offered the fruits of his prodigious mind. 


One potential employer was the Duke of Milan and Leonardo tempted him with a new and innovative weapon of war. Writing to the Duke in 1487, Da Vinci stated: 
"I can make armoured cars, safe and unassailable, which will enter the close ranks of the enemy with their artillery, and no company of soldiers is so great that it will not break through them. And behind these, the infantry will be able to follow quite unharmed and without any opposition.”
Suitably impressed, the Duke of Milan employed the renaissance polymath.


Leonardo da Vinci's fighting vehicle employed a sloped wooden cover to deflect incoming shots and would have been armed with up to a dozen small cannons. The 'crew' of the vehicle would have been very busy indeed, propelling the tank using a massive hand crank and manning the guns once in position.


The actual design has some 'obvious' flaws in it, such as the crank system which would have turned the wheels in opposite directions. Scholars believe this was deliberate so that his design could not be stolen and used by someone else. The size of the narrow wheels would also have made the ground pressure very high meaning it would have been useless on anything other than flat firm ground. While the practical application his design may have been lacking, the concept was certainly way ahead of its time. 

Sunday, January 20, 2019

'Sport' from LeeH: Christmas Truce

The 'Sport' bonus round has given me more headaches than any of the others. I have a moderately sized lead mountain at home (or so I keep telling the wife) but despite rummaging through it several times I couldn't find anything that I could shoehorn into this category. Then I remembered a model I had seen in Wargames Illustrated a while back and I started hunting... Lo and behold it was one of their Moments in History specials, and they still had some in stock. 


The Christmas Truce of 1914 has been popularised and mythologised so much that the story has taken on a life of its own. It has come to symbolise the humanity of the ordinary soldier in the midst of an inhumane war. But the truth, like most history, is a little different. Unofficial truces - where local units allowed each other to bury dead or rescue wounded - were part of the live-and-let-live attitude most prevalent in the early part of the war. But December 1914 was different. Troops on both sides were coming to terms with the realisation that the war wouldn't be over by Christmas after all. 


In some areas of the front troops came out of their trenches, exchanged gifts and even had impromptu kick-about's with footballs. There isn't any evidence of an actual 'match' being played but the idea has become so mythologised over the years that the story has become stronger than the history.


This model, or rather the varnishing of it, gave me some headaches. I use spray varnishes for most of my projects with multiple coats of W&N gloss varnish followed by a couple of coats of W&N Matt. This time I think I was rushing a bit and put a thicker than usual matt coat over a gloss varnish that hadn't finished drying... queue a cloudy finish and crackled surface which I only noticed several hours later after it had dried... EEEK!! Thankfully a thin layer of brush-on gloss recovered most of the damage and the unrecoverable bits were given a touch up of paint. Panic over, and entirely my own fault. That's what I get for rushing!

Sunday, January 6, 2019

'Reconnaissance' from LeeH: Mark I Dingo Scout Car

As usual I found myself scratching my head for a bit when I first read the list of bonus rounds. But this is what I love about these rounds, it gets the creative juices flowing and gives us a chance to explore a wider range of possibilities... or in my case buy stuff on eBay! I've gone with a simple Dingo Scout Car by Zvezda but ended up putting more effort into the base than the actual model. 


The original specification for this vehicle was issued in 1938 and by 1939 the first vehicles were being ordered and entering service. This was probably one of the best armoured scout cars of the war and continued service in the British army well into the 1950's. 


The Dingo had 30mm of frontal armour but its real defence was its top speed of 55mph. It was usually armed with either a  .303 in Bren gun or a .55 Boys Anti-tank Rifle but these were for defence only. 


I used a mixture of varnishes to flatten the colour on the vehicle but emphasise the 'wet' ground. I also used a Vallejo textured paint to get the mud looking right and I'm really pleased with how it turned out. 


A simple entry for the bonus round but one I hope you like. 

Sunday, March 4, 2018

'Monstrous' from LeeH: Blood on the Snow

I bought this model at Salute last year with the express purpose of using it in this years Challenge, one way or another. The figure is a multi-part resin casting from Heresy Miniatures. The figure needed minimal cleaning and removal of a handful of cast lines was easily achieved with a sharp knife and some needle files. The parts where then given a thorough wash and scrub in detergent before assembly. As this model is for display I just glued the parts together but I would recommend drilling and pining if the figure is expected to be handled on the games table. The last stage before undercoating was to use GreenStuff putty to fill some of the join lines and blend the fur together so the model looks like its been cast as a single piece. 


The next step was building the base. The figure stands about 50mm tall but is designed for use with 28mm figures so this Snow Troll is actually looking down at its lunch (presumably someones character model!). Instead I wanted the troll to be looking at the viewer so I tilted it up at the front by about 20°. I then built the base up using layers of dried bark chippings, wood filler and grit. The base was then painted with PVA to seal it before applying my usual brown base coat to the whole model. 


Heresy have a picture of this model on their website and I referred to this photo before deciding how to paint mine. I found their interpretation too white and on my version I wanted to see the wonderfully sculpted fur so I used a dark base-coat and built up the white with about five layers of dry brushing followed by an ink wash and more dry brushing to emphasis highlights. A similar layered dry brushing method was also used on the rocky base.


After painting and varnishing comes the groundwork. Once again I pulled out my pot of Tamiya Snow Effect textured paint (its more like a grainy paste, than a paint) to lay down some fresh snow. This stuff dries hard in a few hours but while its still wet it can be brushed and sculpted to whatever effect you want. More importantly for this project, once the snow has dried hard, paint can be applied to the surface without fear of it soaking in or spreading. I didn't want to cover the whole base so I left some of the rocky crag exposed. I then finished off with some frost covered grass tufts. I bought these at Salute last year and have been keeping them for just this type of project.

Overall my favourite Bonus round so far and probably the project I am most pleased with. Now its heads down for the final weeks to finish more Zulu War units in the sprint to the finish line.  

Sunday, February 18, 2018

'Childhood' from LeeH: Pineapple Tribe Chiefs

This was a fun Bonus round because I got to be a bit 'Childish' for the 'Childhood' round. I bought these figures last year just because they were silly and fun. And as soon as I saw the list of categories I knew exactly what I was going to paint. I bought these models from Colonel Bills but they are actually made by EMP Games for their Lost Horizon range. 


The models are 28mm white metal and these two were wonderfully cast with virtually no mould lines or flash needing to be removed before painting. As usual I washed them in detergent before applying a brown undercoat. The beauty of fantasy miniatures is that some of the neglected colours from your pallet get a chance to be used, and these two guys are no exception. And lets face it, when was the last time you had the opportunity to paint a couple of pineapples in 28mm?


These two ridiculous jungle chiefs are also rather special in another way. If I have my maths right they should take me over the 1000 point mark and what I thought was my improbable target for this years Challenge. Back to some more 6mm Zulu War stuff for next week and to start preparation on the next bonus round. I have a splendid model for that category - very in keeping with this years theme - so I'm looking forward to getting started on it over the weekend.

Sunday, February 4, 2018

'Music/Musician' from LeeH: ECW Highland Piper

Unlike previous bonus round this time I already had a couple of potential figures in my lead mountain that I could have used...and I still ended up buying something just for this theme. My submission is a 28mm Highland Piper by Warlord Games from their English Civil War range. I immediately liked the figure and in a fit of madness decided I had put off painting Tartan for far too long. Having completed the figure I now understand why I avoided it. Despite hundreds of hours painting 6mm figures I now realise my hands aren't nearly as steady as I had thought and my eyesight not nearly as sharp as it should be. Lets just say there was a lot of muttered swearing as I tried to paint this guy's kilt! I wish Vallejo did Tartan paint.


The figure wasn't on a particularly fancy base so I decided to do a bit of landscape gardening to build it up into something resembling a rocky outcrop. I have visions of this guy overlooking the battlefield and putting out a rousing tune to inspire the boys. The rocks are made from chunks of Cork cut and shaped to fit together, with wood filler holding the whole thing together.  The result is a fairly substantial but lightweight display base for my highlander to stand on.


Not the best miniature I have turned out for a bonus round but the best I could do considering my shaky hands and bad temperament this week! Having said that I'm looking forward to the final bonus rounds as I have some cracking models to work on.


Sunday, January 21, 2018

'BFG' from LeeH: Cedric Hyde

The torture that is the Bonus rounds continues, and again I had a real struggle to find something suitable for this category. The only model I initially found in my lead mountain was a lovely sculpt from Colonel Bills Belt Fed Girls range but as it was a bit NSFW I decided to try and find something a little more PC! Then by sheer chance I came across this figure by Westwind while browsing through one of my favourite model shops in Rochester. So I present Cedric Hyde from Westwind's Empire of the Dead range.


Needless to say the link to the theme is his rather oversized revolver (which reminded me somewhat of the gun wielded by Hellboy). I imagine that targets hit by this impressive hand cannon don't just get large holes in them, they probably explode. If that doesn't count as a BFG I don't know what does.


This was harder to paint than its simple lines would suggest. The large smooth surfaces of this figures bulging physique meant that any detail needed to be added by the painter. In other words this needed a bit more skill than I normally exhibit on a 28mm figure! I've given it my best shot and hope you like it.

Sunday, January 7, 2018

'Flight' from LeeH: Flight of the Falcon

I'm sure I'll not be the only person to say the Bonus rounds were a real challenge to fill this year. I have collected a lot of interesting figures over the years and can usually find something to put in a category but this year I was really scratching my head for ideas. I did eventually find this model by Midlam Miniatures and so this is my 'Flight' entry.


The quality of the model is really high and I'll be buying more from Midlam in future as I thought their models were very modestly priced for such well sculpted figures. This guy is a medieval lord of some kind, out hunting with his Hawk. I built up the base with cork chips and plaster to make it look like he is on some crag presumably overlooking a good hunting ground.


First bonus round down, now time to scratch my head and search my lead mountain for the remainder!

Sunday, March 5, 2017

'Characters/Scene from' LeeH and RayR: 'Inglorious Rejects!'

When this years Analogue Painting Challenge was announced Curt laid down a subtly devilish second challenge at the same time. The entrance fee for taking part has become affectionately known as the 'Curtgeld' and this year our artistic overlord requested we submit these as joint entries, with two or more participants combining forces. I imagine this was a real headache for many people but it also got the creative juices flowing and strange ideas bubbled to the surface. Ray and I decided to combine forces, we just had to find something suitable to paint. Fortunately Ray found two excellent models based (loosely) on two characters taken from the 2009 war film Inglourious Basterds by Quentin Tarantino. This way we could submit the models in the final bonus round and as our Curtgeld.


Ray decided to paint the 'Brad Pitt' figure and I did the baseball bat wielding Staff Sergeant Donny Donowitz. Although we both belong to the same gaming group (Posties 'Rejects') we live in different Counties, so getting together for a side by side painting session on this collaboration wasn't really an option. Instead we used a phone app to keep in touch, swap progress photos and make suggestions. The resulting figures look surprisingly similar in styles and finish and I think we are both very happy with how these models turned out.

This is my figure, complete with blood splatters and sweat soaked vest. The blood was particuarly challenging but I guess all my recent work on shield designs for 6mm figures must have improved the steadiness of my hands!


And here is Rays figure sporting a beard and an SMG. Painting this black jacket must have been really difficult but I think Ray has given it just the right amount of highlight to looks like shiny leather.


Both figures side by side and I think we have managed to align our different styles really well (no idea how we pulled that off!)


The next step was basing the figures. We both discussed what we wanted and quickly agreed we wanted a joint base with plenty of the detritus of war scattered around. We raided bits boxes for items to put on the bases and I found some resin rubble piles in a local art and hobby shop. Then just last week we met up at the Cavalier Wargames show in Kent and managed to find a suitable MDF base and more stowage items to put on the base. I then took both figures home to put everything together and paint. The liberal application of grass tufts helped blend all the elements of the base together. 


There were times when this joint project felt a little 'cobbled together' but I think we are both very very happy with how the finished vignette has turned out. Somehow, despite doing most of the work separately, the whole thing works well together. I for one certainly hope that this collaboration theme can become a regular part of future Challenges.